Most newly developed homes nowadays have an electronic garage door opener. This eases access, safety, and security. However, many drive options are available: chain, screw, belt, direct, and jackshaft.
The most commonly found setup is that the ceiling-mounted opening, which connects to the door’s inside. We’ve provided a basic guide which will assist you lookout of this task if you’re a DIY.
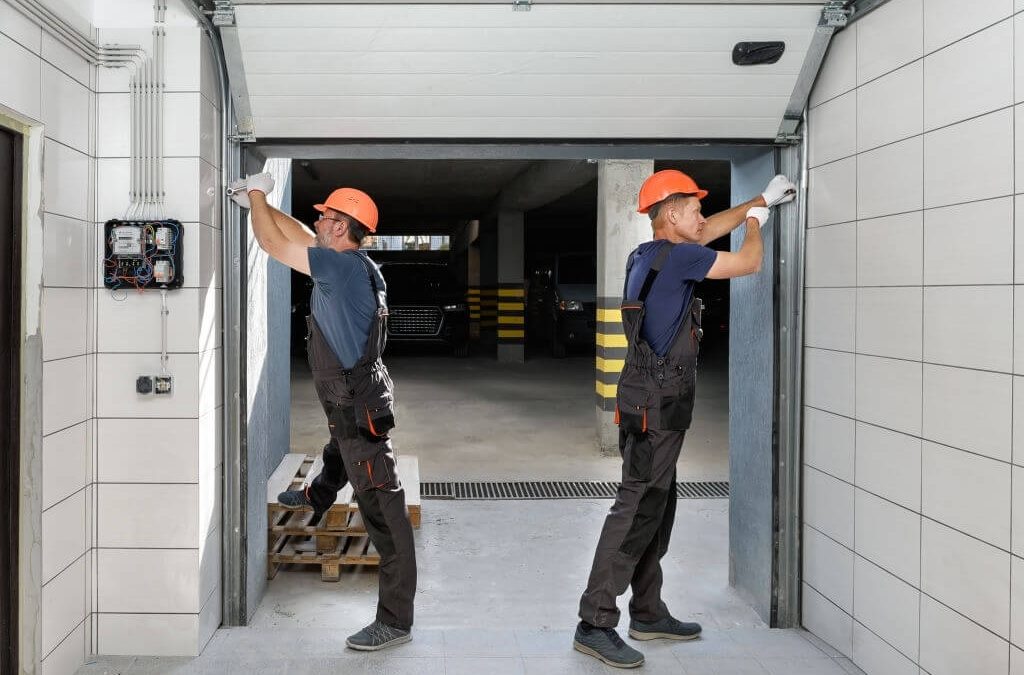
Remember that we recommend that you simply involve experts to tackle such complex jobs. Not only because you’ll damage the equipment but also because you’ll hurt yourself. Our Well-Trained Technicians at McAllen locksmith pros is usually available for professional support.
Start by checking if your garage door is working correctly. It opens and closes properly and doesn’t have any loose cabling or broken parts, and is additionally well lubricated.
Remove all hanging ropes and cords.
Prepare the required—clamps, measuring tape, a drill machine and bits, and different sized wrenches. confirm you’re near an wall socket .
Step 1: Assembling The Opener
-
Fit the rail sections together
-
Slide trolley on to the rail
-
Connect rail to the motor
-
Fix the pulley to the top of the rail
-
Slide a belt or a sequence from one end of the rail; glide it round the pulley, then fix it round the motor
-
Now fix the belt or the chain end to the carriage
-
At the top of the chain may be a screw which will hold the whole against the trolley and bear the door tension
Step 2: Attaching The Opener to the Ceiling
-
Start with installing a block on the ceiling, and therefore the opener are going to be attached to the present wood. The wood must be nailed or screwed to make sure it holds the load of the opener.
-
Now screw the bracket to the door wall and connect the opener assembly thereto . Then, attached the top of the motor to the blocking using screws.
-
Ensure you have left about 7-9 feet of space above the ground to permit room for people walking thereunder . Then fix the opposite piece of the bracket to the door as laid out in the instructions.
Step 3: Garage Door Installation of Other Components
-
The opener packaging must be having a security disconnect cable. Attach this cable to the motor and slide it on to the bracket and therefore the handle. It should be marked as an emergency release.
-
Remove the emergency release cable and test the door by opening and shutting it to form sure it operated smoothly. Then add the stop bracket at the motor.
-
Fix a light-weight bulb to require care of the vibration of the door without burning out. Then install the electrical eye and reflector.
-
Then the control button is to be installed and confirm it’s out of reach of youngsters .
Step 4: Testing The Newly Installed Opener
-
It is time to now power on the garage door and test it using real electricity.
-
Test the door with the wall control and therefore the remote.
Let Our Well-Trained Technicians Do The work For You
It can become challenging to put in a garage door opener. Hence, if you think that you won’t be ready to install it yourself, don’t worry. McAllen locksmith pros has the experts to try to to it for you. We are your local garage door experts in McAllen Texas and surrounding areas, Let us understand why and when to go for garage door installation. Call us today at (956) 508-8090. you’ll also visit our website at https://locksmithmcallen.com